
 |
Using Color-by-Example to Adjust Skin Tones by Anna Schwarz |
|
I use Color-by-Example for all kinds of color adjustments, but especially corrections of skin tones. It allows me to copy colors from my own archive images that turned out well into images that turned out not so well. Another option is to use the standard palette built into Color-by-Example. That also works well. |
|
| Generally speaking, skin tones are somewhat tricky to get right, especially in artificial light. Digital cameras often make mistakes in the automatic white balance, producing images with either a blue or yellow cast. This color cast often makes subjects' skin look pale or jaundiced. | |
| When I need to compensate for such unfortunate color cast or bad lighting, I use Color-by-Example by itself or in combination with other adjustments. In most difficult cases, it helps to first perform general color balancing using Curves and/or Color Balance in Photoshop and then fine-tune it with Color-by-Example. | |
| Here's a good example. | |
|
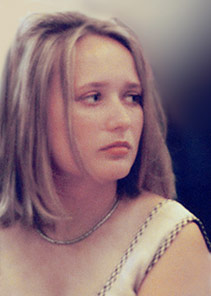
Recently I was going through my archive and ran across this picture. I took it years ago at a friends' wedding using a regular film camera. The film loaded in the camera was not intended for incandescent light and I did not have an opportunity to change it. The bottom line is that the picture turned out completely yellow. Now I decided to see if I can improve it. |
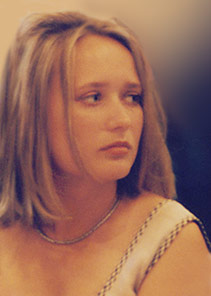 |
| First I scanned it using a regular flatbed
scanner.
The next step was to enhance contrast using Photoshop Brightness/Contrast adjustment. The image became even more yellow! |
 |
|
Over the years I have tried all kinds of Photoshop filters and stand-alone programs and I had the same issue with most of them: they were adjusting colors, including skin tones without regard to specific scene and lighting. Color-by-Example is different: it allows me to choose a template image from my own archive that has similar scene, lighting and subjects with similar skin color. I copy the skin tone from that archive image and get great results. |
|
| In many cases, I don't even bother loading a template image. Color-by-Example comes with a palette of built-in skin tone swatches for different situations. In the case of this specific portrait I decided to start with the built-in palette and see if I could find a canned color I liked. | |
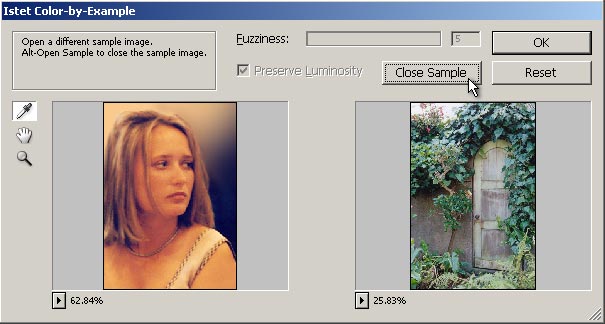
| I started up the filter. It was showing my image and some picture I had used as a sample before (it automatically opens the last sample used, which is very helpful when I need to do several similar adjustments in a row). | |
 |
|
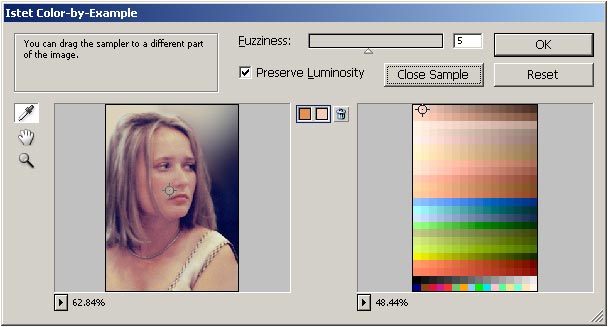
| This time around I needed to close this sample. I pressed the Alt key, which changed the Open Sample button into Close Sample. I clicked on it. The sample image was replaced by the standard color palette. Each row of swatches contains almost the same color varied only in luminosity. I always first try the upper two rows of swatches which give me the most common skin tones. | |
| I selected a spot on the subject's face and a swatch from the top row. I saw an instant improvement. I used the mouse to move the left color picker around a bit, until I found the spot that yielded the result I wanted. | |
 |
|
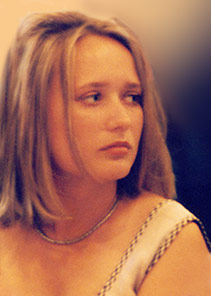
| I clicked on the Ok button to apply the color adjustment to my image. | |
| With the help of Color-by-Example I get dramatic improvements in mere seconds. For me, it is a perfect tool for skin tone correction. | |
| Before | After |
|
 |