 |
Using Color-by-Example to Adjust Color and Luminosity by Jake Albert |
|
I know I should not have argued with my wife about colors. She likes everything pink - I don't like anything pink. (See my previous article). I am not arguing, I am just saying that the car would look better in red. As a matter of fact, perhaps firetruck red. |
 |
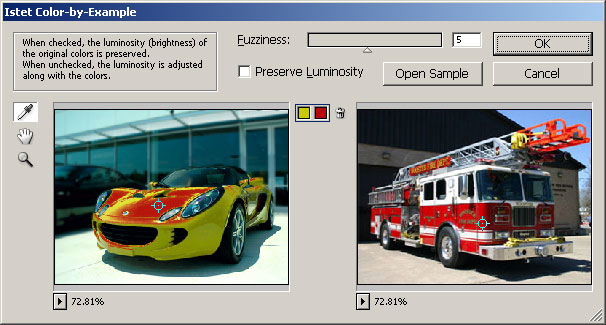
| So, I found a picture of a firetruck: | 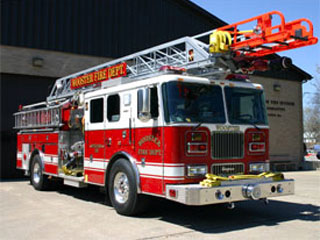 |
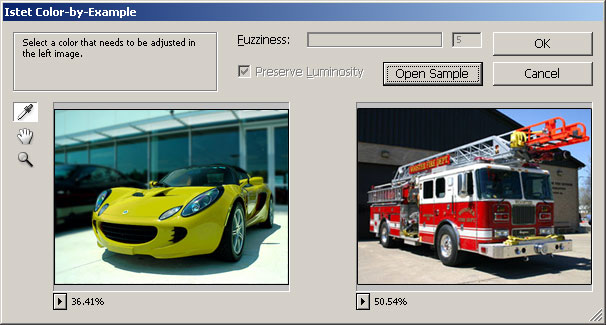
| Again, to replace the yellow with the red I used Color-by-Example. These are the steps: | |
| 1. | I opened the image of the yellow car and selected Istet/Color-by-Example from the top Filter menu. |
| 2. | I clicked on the Open Sample button and loaded the picture of the firetruck. |
 |
|
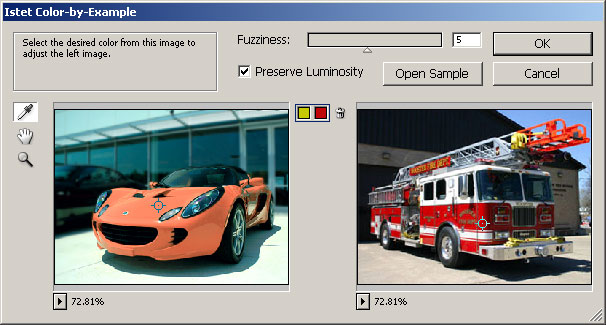
| 4. |
I selected a spot in on the yellow car and a corresponding spot on the firetruck. Color-by-Example matched the left color to the right. However I would call the new color of the car "salmon" rather than "firetruck red." |
 |
|
| 5. |
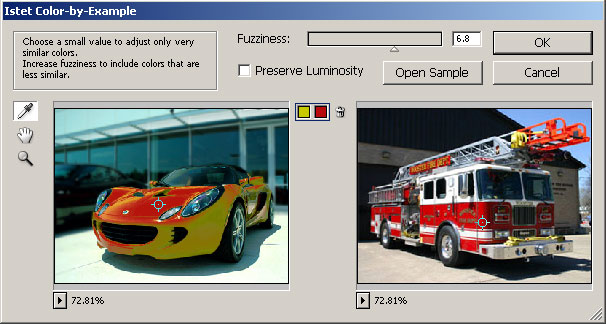
The job clearly was not done yet. The reason the yellow did not become red is the "Preserve Luminosity" check box. When selected, this parameter makes Color-by-Example preserve the luminosity (brightness) of the original colors. Red is darker than yellow, this is why it took the lighter version of red, this "salmon" color. I wanted the brightness of the adjusted color to match that of the sample color, so I unchecked the Preserve Luminosity check box. |
 |
|
| 6. |
While "Preserve Luminosity" checkbox was checked, Color-by-Example adjusted all similar colors, no matter their brightness. When I unchecked it, Color-by-Example switched to a different mode: now it only adjusted similar colors with similar brightness. This is why it only replaced midrange yellows and left lighter and darker ones alone. To adjust more yellows, I increased the Fuzziness parameter. The higher the value of this parameter, the more distant colors are changed. |
 |
|
| 7. |
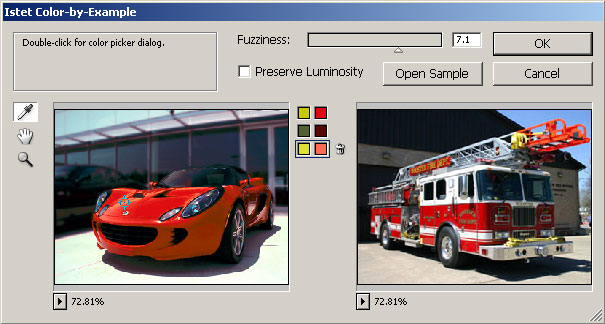
The darker greenish shades and the highlights on the hood of the car were still unchanged. So I added separate adjustments for them. |
 |
|
| 8. |
Ok. I was done with the car, but along the way I had unwillingly changed some of the background. To return it to its original color, I held the Shift key and clicked on a damaged part of the background. This "locked" the original color. |
 |
|
|
This task took a couple of minutes longer, but I was proud of the result. I showed it to my wife. "Pink's still better," was her reaction. That's it! I am buying a red one. |
|
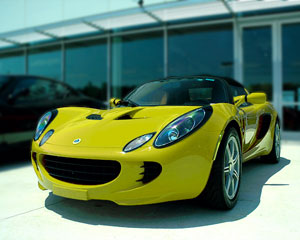
| Before | After |
 |
 |